The first thing to remember when dealing with dry rot is that the name is misleading. Dry rot is not normal decomposition. It is decay caused by several species of fungi. The word dry is somewhat misleading as well, as fungi require moisture to do their dirty work. The wood can have the appearance of dryness, however, once the fungi have completely weakened the wood.
Needless to say, this is an extremely dangerous condition. Anything that relies on the wood's structural integrity is at risk of collapse. It is important that you know what to look for and what you can to do about it.
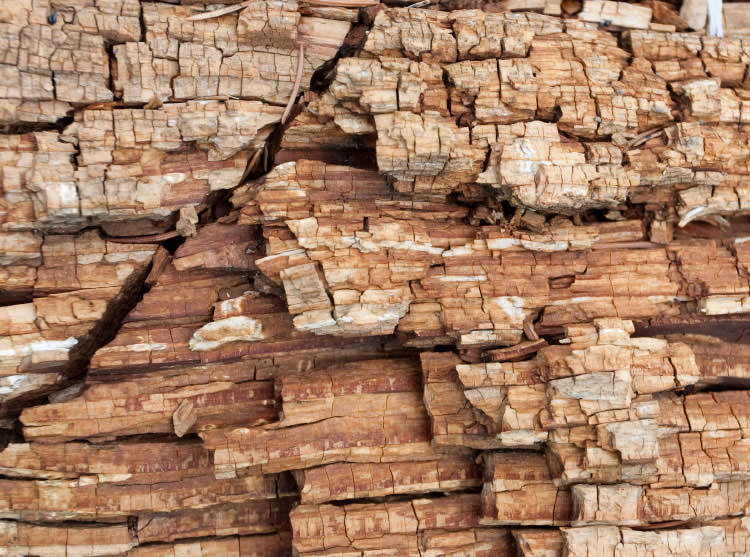
Identification. Dry rot begins simply, with the introduction of microscopic spores into the wood. Over time, they proliferate. You may begin to notice changes in the wood's appearance. It may take on mushroom-colored appearance in the early stages of infestation. More advanced cases will show a white, wool-like, fungus eventually giving way to a splotchy brown or dark brown discoloration mixed with orange or rust. Wood that is completely infested will be crumbly, and some parts could be so weak they are all but pulverized.
- Seriously infected wood will have a damp, musty odor.
Treatment. Nevertheless, hope is not lost. Caught early, wood infested with dry rot can be treated. You'll need wood stabilizer and wood filler, both available at your local hardware store. You'll also need two paintbrushes, a chisel or a saw, and don't forget gloves and safety goggles. Follow the four-step treatment process below.
1. Stop the source of any leaks that may be responsible for the condition.
2. If the infected area is small enough to be removed without doing serious structural damage, go ahead and use a chisel, or a saw if needed, and remove it.
- It is of the utmost importance that you remove every last piece of infected wood. Leaving only a little behind is enough to start the whole process rolling again.
3. You will need to treat any uninfected wood that may have bordered the infected swatch with wood stabilizer. Apply the glue-like stabilizer in even layers with one of the paintbrushes. When you're through, discard the brush. You won't be able to re-use it. Give the stabilizer a few hours to dry.
4. Apply a layer of wood filler over the stabilizer. Allow it to dry completely before adding a second coat.
- All wood repair of this sort should be performed on the least humid day possible.
- Dispose of infected wood promptly. Fungus can spread.
- Safety first: Wear gloves and goggles when handling and applying chemicals.
Prevention. Of course, the best way to treat dry rot is to do your best to prevent it in the first place. Boric acid, also known as borate, can act as a fungicide. Most hardware stores stock the chemical either by itself or as part of a dry rot treatment kit.
Regular borate is water-soluble and will be ineffective in wet areas. If you are treating wood where there is some degree of liquid water, you will need to use fused borate. Talk to your hardware store sales associate if you are unsure of what to use.
- Remember, dry rot is not actually dry. The most effective preventative measure you can take is to eliminate as much excess moisture as possible. Pay attention to leaking pipes or faucets and address their cause as soon as possible.
Early identification and treatment of dry rot is essential to preventing serious damage. With a few simple chemicals and a little bit of work, you can ensure a structurally sound home.