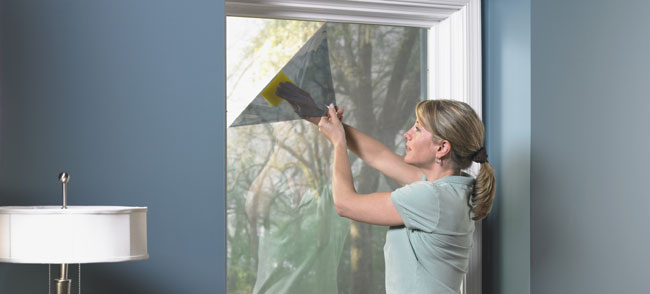
Installing self adhesive window film is not only an excellent way to protect your draperies, carpeting and other furnishings from the damage that often results from exposure to the sun's harmful UV rays, but it is a magnificent choice when it comes to reflecting the amount of heat and light that enters your home as well. While many consumers choose to employ an experienced technician to install window film, the simplicity of the process has enabled some consumers to save a few of their hard-earned dollars and install the film themselves.
If you are considering installing self adhesive window film yourself you will be delighted to know that this DIY project is as simple, much faster and definitely cleaner than installing most wallpaper and with a little bit of patience and preparation, and by following these important tips, you can be well on your way to film protected windows in no time.
- Gather the following supplies and place them on a roll-away cart or in a tool bag so that you will have them within reach as you move from window to window:
- Paper Towels, Coffee Filters or Lint-Free Cloth
- Spray Bottle
- Measuring Tape
- 9" Squeegee
- Utility Knife with a few extra blades
- Razor Scraper
- Baby Shampoo ( to be used as a film aid concentrate)
- Before you begin, clean your windows with a mixture of 1 teaspoon baby shampoo and 1 quart water to remove any dirt, water spots and residue. Avoid using commercially prepared glass cleaner or cleaners that contain ammonia or vinegar, as they can damage the film's adhesive.
- If you must use chemicals to clean heavily soiled windows or to remove smoke stains, follow up with a thorough baby shampoo and water rinse.
- If you are having trouble separating the film from the protective liner, place a small piece of scotch tape on either side of the window film at the corner and gently pull the pieces apart.
- Window film can cause the blade on your utility knife to dull quickly, making it difficult to cut the window film. Plan to use a new blade for approximately every 10 ft. of film you cut or trim.
- Handle the window film carefully. Roll larger pieces of film to help prevent creasing which can permanently damage the window film.
- Begin with smaller windows first if possible in order to help you build confidence and skill before you move on to larger, more difficult windows.
- Windows that are larger than 3ft. to 4ft. wide often require two people in order to effectively remove the liner and install the film without mishap.
- Avoid installing the self adhesive window film in direct sunlight or when temperatures are below freezing. The best time to install window film is when temperatures are between 45 and 90 degrees F.
- If your windows are larger than the size of the film, overlap the edges of the film and trim at the center to obtain a professional looking seam.
- Approximately one week after installation, use clear fingernail polish to weatherproof any seams.
- Apply the mixture of baby shampoo and water generously to the window and the adhesive side of the film before attempting to apply the window film. The solution acts as a lubricant, making correct placement much simpler.
- Use the squeegee to help remove large air bubbles and to finalize the application. Spray the window film generously with the solution before applying the squeegee.
