
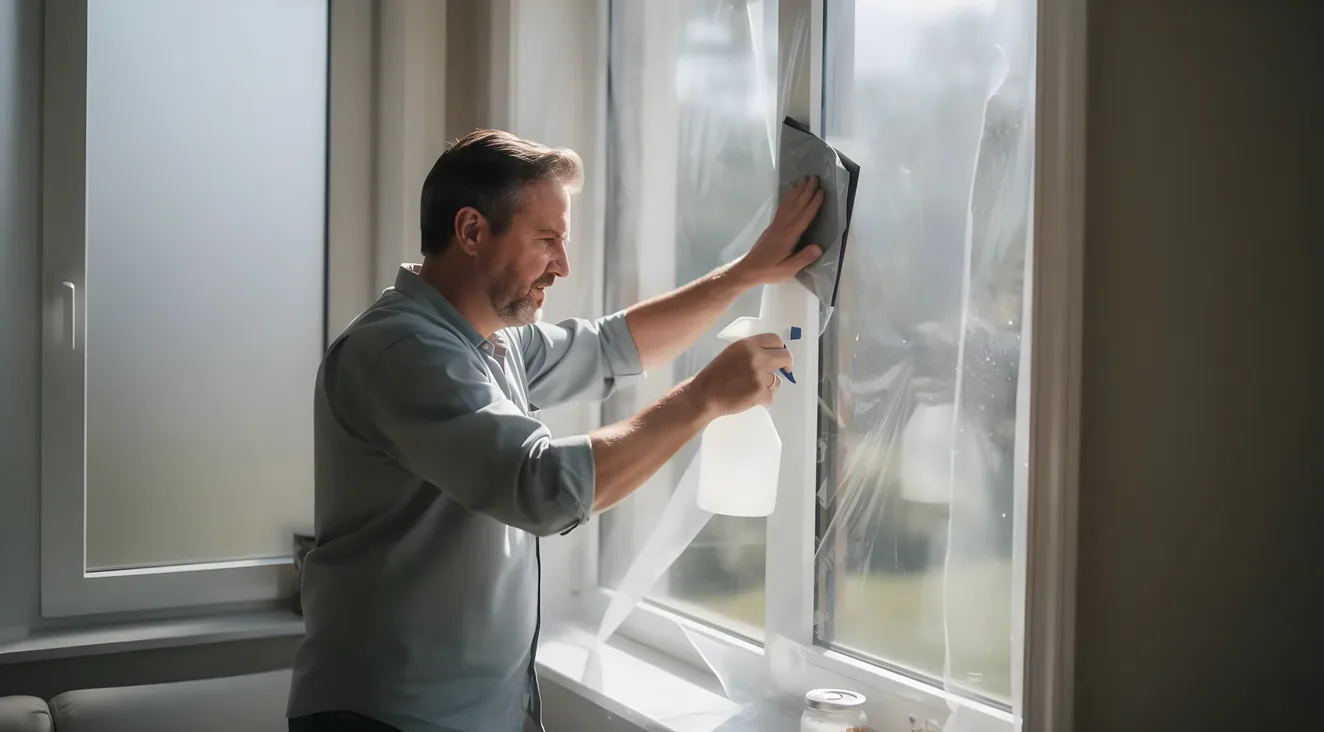
I had a spray bottle in one hand and a sheet of film sliding sideways down my kitchen window before I understood what I was doing wrong. Self-adhesive window film is not a sticker you press onto dry glass. It’s a wet-slide process: spray the glass and the film’s adhesive face with a soapy slip solution, float the film into position while everything is still slick, then squeegee the water and air back out before the film grips. That’s the whole method, and every step below is a version of it.
The install window is narrower than most people expect: roughly 45 to 90°F, out of direct sun. Film applied in full sun sets up before you can slide it into place, and that failure traces straight back to ignoring the temperature window. Two other risks show up just as often and have nothing to do with heat: a folded sheet gets a permanent crease, and a dull blade tears the edge instead of cutting it. None of that means skip the project; most single-pane windows are a reasonable weekend job, and I’ll give you a straight answer on the few that aren’t by the end.
I’m not going to make the case here for why you should tint your windows. If you’re still deciding, that argument lives at the case for tinting your windows. This post assumes you’ve already got a roll of film sitting in the corner and a free Saturday.
Tools and Materials You’ll Need
You should also already have made the harder decision, film type, tint level, and the VLT rating (set by the NFRC) that goes with it. That’s choosing how dark to go territory, not this post’s. Here’s what’s in my kit once that choice is made:
- A sharp utility or snap-off blade knife, plus a full pack of extra blades
- A squeegee with a hard card edge for the first pass and a soft or felt-wrapped one for the finish
- A spray bottle for the slip solution
- A metal straight edge, tape measure, and a pair of scissors
- A second person, for anything wider than a standard single-pane window (more on why in a minute)
One more thing before you touch the glass: standard residential film goes on the interior side, not the exterior, since it stays out of direct weather that way. Every step below assumes an interior install.
Before You Schedule the Day
Temperature
45-90°F, out of direct sun
Pane width
Over 3-4 ft, get a second set of hands
Blade supply
A full pack, not just a spare
Prepping the Glass
Skip your usual glass cleaner here. Ammonia and vinegar based cleaners attack the film’s adhesive layer before it’s even applied, so anything you’d normally reach for under the sink is out.
Instead, mix your own slip solution: a few drops of baby shampoo or mild dish soap in a quart of water. Use that same solution to clean the glass. It lifts dust and grime off the pane, and it’s the same mixture you’ll spray down again to apply the film. One bottle, one job, start to finish.
Measuring and Cutting the Film
Measure the visible glass, not the frame. Window openings are almost never perfectly square, even in a house that looks square, so cut the film oversized, a half inch to a full inch bigger than your measurement on every side. You’ll trim it flush once it’s on the glass, where you can see the true edge instead of guessing.
While You're Cutting
Fresh blade every 10 feet or so. Cut oversized, a half inch to a full inch past your measurement on every side. Both numbers are easy to forget once you're mid-cut, worth a glance back here.
The detail that matters most is your blade. Swap in a fresh one every ten feet or so of cutting. A dull blade doesn’t cut film. It drags and tears it, and you won’t notice until you’re looking at a ragged edge on a sheet you already wetted down. I learned this on my second window, not my first.
Wetting Down and Applying the Film
Peel the release liner, the protective backing sheet over the film’s adhesive layer, right before you set the film against the glass, not any earlier. The adhesive underneath starts collecting dust once it’s exposed, so peel it at the window, not before.
Work between 45 and 90°F, out of direct sun. Film applied in heat or cold sets up too fast to slide into place before you can get it positioned.
Spray the glass heavily with your slip solution, then spray the adhesive face of the film before you set it against the glass. Both surfaces need to be wet, not just one. Position the film, then walk it into place while everything is still slick enough to slide.
For anything wider than three or four feet, get a second person: one peels the liner while the other guides the sheet onto the glass. This is also where the roll-versus-fold rule matters: unroll a large sheet as you position it, don’t fold it to carry it to the window. A fold creases the film, and a crease is permanent. It won’t squeegee out, and it won’t relax over time.
Squeegeeing Out the Water and Air
Start at the center and work outward in overlapping strokes, pushing water and trapped air toward the edges. Firm, steady pressure beats aggressive pressure: you’re moving liquid out from under the film, not scraping it.
Use the hard card edge for the first pass. Once most of the water is out, switch to the soft or felt-wrapped squeegee for a finishing pass. The hard edge can scratch the film once the bulk of the water is gone.
Trimming the Edges
Once the film is squeegeed flat, run your blade angled against the frame to trim the excess. Cut close to the true edge of the glass, but not so tight you’re pressing the blade against the frame itself.
If a pane is wider than a single roll, overlap two sheets by an inch, then cut through both layers in the overlap with one continuous motion. Peel away the waste strips and you’re left with a seam that sits nearly flat.
What Happens During the Cure (And What’s Normal)
Give it 30 days to cure. Some haze and small moisture bubbles are normal during that window. They’re part of the adhesive setting, not a sign you did something wrong, and they clear on their own as the remaining moisture works out through the edges.
Seeing a Bubble Right Now?
Walk away from it. During the 30-day cure, small bubbles and haze are the adhesive still working, not a failed install. Pressing or re-squeegeeing at this stage is what turns a normal bubble into a permanent one.
The instinct to fix what you’re seeing is the real mistake, not the film. Don’t press on a bubble or try to squeegee it out again once the film has set. You’ll disturb an adhesive bond that’s still forming and create a new problem. Installation quality affects how long the film lasts, but that number belongs on its own page: how long window film actually lasts.
Taking Care of the Film Long-Term
Once the film has cured, clean it the way you prepped the glass: mild soap and water, nothing with ammonia or vinegar. The chemistry that attacks the adhesive before installation doesn’t stop after.
Use a soft cloth or microfiber towel, never paper towels or newspaper. Both feel soft, but the fibers micro-scratch the film over repeated cleanings, and those scratches don’t come out.
When Hiring a Professional Is Actually the Better Call
I did my kitchen windows myself and I’d do it again. I wouldn’t do every window myself, and that’s not a contradiction; it’s being honest about where the job gets harder than the payoff.
Large panes and multi-pane sliders or patio doors are the clearest case. There’s more film to move, more surface area for a crease or bubble to show, and less room for error on expensive glass. Difficult access matters too: a second-story window or tight mullion pattern turns a straightforward install into a balancing act.
A professional install usually comes with a workmanship warranty, something a DIY job has no equivalent for. Professional-grade film is also frequently a different product line altogether. It isn’t the same roll sold at retail with a markup added.
None of that makes DIY wrong for most homeowners. It means knowing which window you’re looking at before you commit.
Common Questions About Installing Window Film
Do you have to use soapy water to apply window film?
Yes. Skipping the slip solution and pressing film onto dry glass is the fastest way to ruin a sheet: there’s no repositioning it once the adhesive grabs. A light soap and water mix on both surfaces buys you time to get it right.
What are common mistakes to avoid with window film?
The ones that come up again and again: a blade overdue for replacement, folding a large sheet instead of rolling it, installing outside the temperature range or in direct sun, and rushing the wet-down step so the glass isn’t slick enough when you start.
Is it better to put window film on the inside or outside?
Inside. The interior face is the standard for residential installs, since it never deals with direct weather exposure the way the exterior glass does.
What is the best way to put window film on?
It’s one continuous sequence, not a menu of methods: clean the glass, cut the film oversized, wet both surfaces, position and squeegee it flat, trim to the frame, then leave it alone for the 30-day cure.
Every step above comes down to the idea from the opening: keep it wet long enough to get it right, then squeegee it dry before it grips. Do that on the right window and you’ll get a clean install. On the wrong one, hire it out and don’t feel bad about it.