
The bulb that finally quit on me was in the fixture over my kitchen sink, an incandescent that had been in that socket since before my youngest was born. When I stood in the aisle at the hardware store to replace it, there wasn’t an incandescent option left on the shelf. Every box said LED, because LED isn’t a lifestyle choice anymore. It’s what’s available for a standard household bulb now.
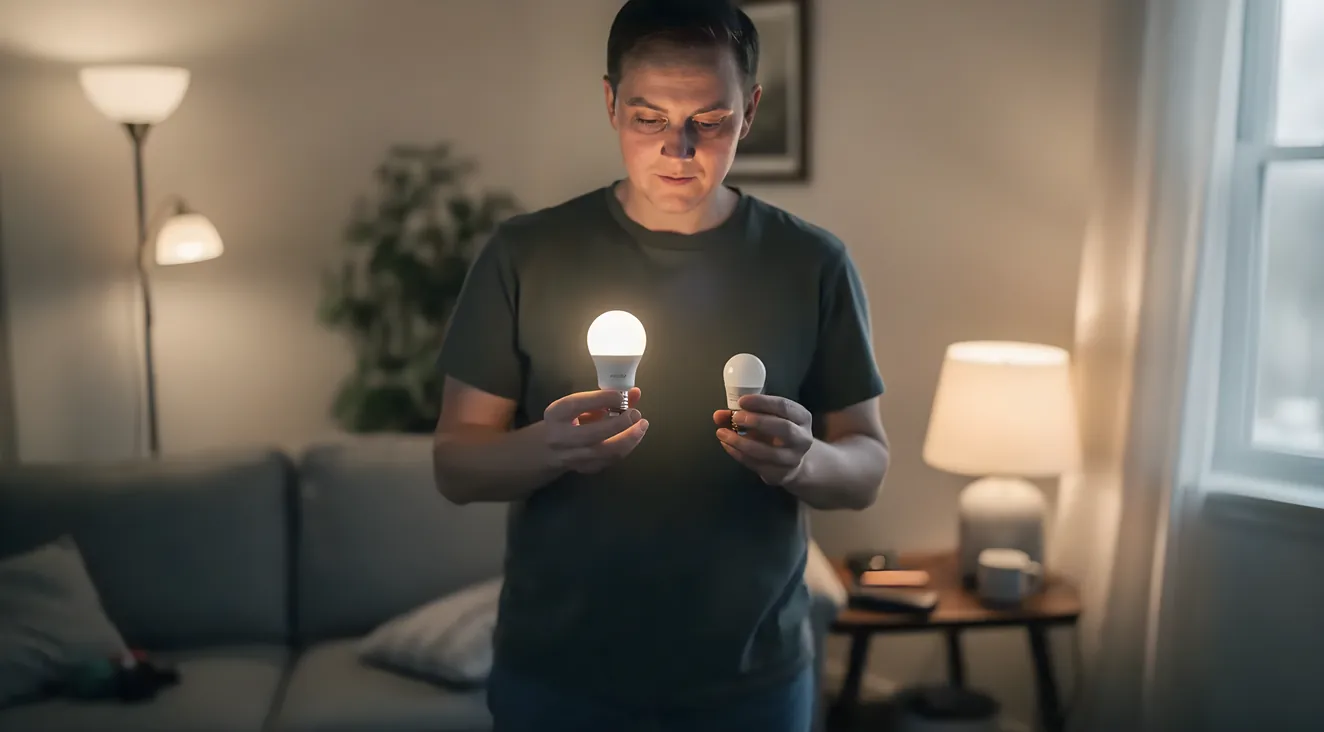
The single biggest mistake people make buying their first LED is shopping by watts, the way we all learned to shop for forty years. LED bulbs are sold by lumens, not watts: lumens tell you how bright the room will look, watts only tell you what the bulb costs to run. Four numbers on that box matter, and none of them measure the same thing. Lumens measure brightness. Kelvin measures how warm or cool the light looks. CRI measures how true colors read under it. Dimmable tells you whether the bulb is built to work with a dimmer switch at all, which isn’t automatic.
That last one is where I got burned the first time, on a bedroom dimmer that flickered every time I turned the lights down, and it had nothing to do with a bad bulb. And the Kelvin you want changes room to room. A bulb that looks right over the kitchen counter looks clinical and wrong in a bedroom, so picking one bulb for the whole house is its own mistake.
Why LED Is the Only Real Option Now
Nick Holonyak Jr. built the first practical visible-light LED at General Electric (GE) back in 1962, so this technology has been sitting in labs and instrument panels for over six decades. What changed isn’t the bulb. It’s the shelf.
The U.S. Department of Energy’s 2022 minimum-efficacy rule set a floor of 45 lumens per watt for general service lamps, and incandescent and halogen bulbs simply can’t clear that bar. A stricter rule, requiring 120 or more lumens per watt, is finalized for July 2028 compliance (DOE, “DOE Finalizes Efficiency Standards for Lightbulbs to Save Americans Billions on Household Energy Bills,” April 12, 2024). That’s not a marketing push. That’s a federal rule working its way through the supply chain until incandescent stock stops getting made at all.
So when I say switching to LED is worth it, I don’t mean it as a pitch. I mean it the way I’d tell a neighbor the store is out of the other option.
How to Actually Read a Bulb Box
Every LED bulb box carries a small chart near the bottom, usually titled the Lighting Facts label. It’s the actual thing worth reading, not the marketing copy above it, and it comes from the Federal Trade Commission (FTC). A handful of numbers on that label decide whether you go home with the right bulb.
Lumens measure brightness. Watts measure how much electricity the bulb draws to make that brightness happen. They used to track together closely enough that shopping by watts worked fine, back when every bulb on the shelf was an incandescent filament. LED broke that link. An 800-lumen LED, roughly what a 60-watt incandescent used to put out, draws around 9 watts to do it (FTC, Lighting Facts label; LED wattage per manufacturer spec data). Same brightness, a tenth of the draw. If you’re still thinking in old wattage, buy by the lumen number that matches the brightness you’re used to, not the watt number.
Kelvin is next, and it measures color temperature, the visual character of the light itself, a separate question from brightness entirely. Bulbs in the 2700 to 3000K range read warm, close to old incandescent light. Bulbs at 3500 to 4000K read neutral, closer to daylight through a window. Anything at 5000K and up reads cool, closer to a hospital hallway or a garage shop light. None of these are objectively better. They’re suited to different jobs, which is the whole point of the room-by-room section below.
Two numbers that sound like the same thing aren’t: Kelvin is how warm or cool the light looks, CRI is how true the colors look under it. CRI is where most people get tripped up, because it sounds like it should track with Kelvin, and it doesn’t. Color Rendering Index is a 0-to-100 scale measuring how accurately colors show up under a given light, completely separate from how warm or cool that light looks. You can have a warm 2700K bulb with weak CRI that makes skin tones look a little off, and a cool 5000K bulb with strong CRI that renders color true. For most rooms in a house, 80 or higher is a fine floor. In kitchens, bathrooms, closets, or anywhere you’re checking how something actually looks, produce color, paint color, your own face in a mirror, look for 90 or higher.
Dimmable is the word printed on the box, and it’s only half the story. A bulb marked dimmable is built with electronics that can handle a reduced, chopped voltage wave without damage. What it doesn’t guarantee is that your existing dimmer switch was built to send that bulb the kind of wave it expects. That mismatch is the single most common LED complaint I hear from neighbors, and it gets its own section below because it’s worth walking through in detail.
Energy Star is the last one, and it’s voluntary, not a legal requirement. The mandatory floor is the DOE efficacy rule above. Energy Star sits on top of that: it requires bulbs to hit standardized Kelvin bins, so a 3000K Energy Star bulb from one brand matches a 3000K Energy Star bulb from another, and a CRI of at least 80, along with efficacy and lifetime testing. It’s the fastest single mark to look for if you don’t want to do the label math yourself.
At a Glance
The Four Numbers on the Label
Lumens
Brightness. Match this to what your old bulb put out, not the watt number.
Kelvin
Warm or cool. 2700-3000K reads warm, 3500-4000K neutral, 5000K+ reads cool.
CRI
Color accuracy. 80+ is fine for most rooms; go 90+ in kitchens and bathrooms.
Dimmable
Printed on the box, but it only confirms the bulb. Your dimmer still has to match.
What Happens When You Get the Dimmer Wrong
The bedroom dimmer in our house is original to the room, the same rocker-style dial that was there when incandescent bulbs were the only option. When I swapped in a dimmable LED a few years back, dropping the lights down past about half brightness made the bulb flicker, a fast, uneven strobe that was worse than just leaving the lights on full. Turn it down further and it started to buzz, a faint electrical whine I could hear from the hallway.
Neither problem meant I had a bad bulb. Every dimmer switch works by rapidly chopping the electrical wave, cutting it on and off many times a second to cut how much power reaches the bulb. An incandescent filament doesn’t care about that chopped wave, it just glows a little dimmer. An LED bulb has a small driver inside it, electronics that convert household current into what the LED chip needs. When the chopped wave drops below what that driver needs to stay powered, the driver shuts off and restarts rapidly, which is the flicker. The buzz is a side effect of that same chopped wave putting electromagnetic stress on the coils and capacitors inside the driver.
The actual culprit in most homes is the dimmer itself, not the bulb. Older dimmers, called leading-edge or forward-phase dimmers, were built to handle a resistive incandescent load and were never designed with an LED driver in mind. Trailing-edge dimmers, sometimes labeled ELV, chop the wave from the other end and are the more reliable match for LED electronics.
The fix isn’t complicated, but it takes two checks, not one. First, confirm the bulb box itself says dimmable; plenty of LED bulbs aren’t built for dimmers at all. Second, and this is the step I skipped the first time, check the dimmer manufacturer’s own compatibility chart for that specific bulb, or for LED loads generally. My old dimmer wasn’t on any LED compatibility list because it predated LED bulbs existing as a category. Once I swapped in a trailing-edge LED dimmer built in the last several years, the flicker and buzz both stopped, same bulbs, same fixture.
Before You Buy
Two Checks Before a Dimmable LED Goes In
1. Check the bulb box
Confirm it actually says "dimmable." Plenty of LED bulbs aren't built for dimmers at all.
2. Check the dimmer
Pull up the dimmer manufacturer's LED compatibility chart. An old leading-edge dimmer built before LED existed won't be on it; a trailing-edge (ELV) dimmer is the reliable match.
Picking the Right LED for Each Room
Most buying guides organize this by fixture type: recessed can, table lamp, vanity bar. That misses the decision homeowners actually make, which is room by room. Here’s how I’ve settled ours, and why.
| Room | Kelvin range | Why |
|---|---|---|
| Bedroom | 2700-3000K | Warm light supports winding down instead of staying alert |
| Bathroom | 3000-4000K, split by fixture | Warmer at the vanity for skin tone, cooler over the shower for visibility |
| Kitchen | 3000-4000K, higher CRI at task areas | Under-cabinet and counter lighting needs CRI 90+ so ingredients read true |
| Living room | 2700-3000K | Warm light suits conversation and TV viewing comfort |
| Nursery | Soft and warm, layered | Low, warm light works with a baby’s sleep schedule, not against it |
| Home office / garage / workspace | 4000-5000K+ | Cooler light supports alertness and close task work |
A few of these are worth a sentence beyond the table.
Bathrooms are the room where one Kelvin number for the whole space is almost always wrong. The vanity wants something warmer, close to 3000K, so your skin tone and makeup read the way they’ll look outside the bathroom. The shower or tub area can run cooler, closer to 4000K, purely for visibility on wet tile. That vanity-versus-shower split is only the starting point; how to layer the two together by fixture type is its own project, and I’ve walked through the whole thing in how to layer bathroom lighting, covering the specific fixtures that work for each zone.
Nurseries want a soft, warm, layered approach rather than one overhead fixture doing all the work: a dim, warm main source, a separate task light for diaper changes, and usually a nightlight that doesn’t fight the room’s sleep cues. Getting that layering and the safety details right for a baby’s room deserves its own full breakdown, which is what lighting a nursery covers start to finish.
Recessed can lighting deserves one more note: if your house has old incandescent can housings, you almost never need to replace the housing itself. Most existing recessed housings accept an LED retrofit trim or kit directly, which is the easiest single upgrade on this whole list.
What Switching Actually Saves You
Here’s the number I actually trust, because I can see where it comes from: an Energy Star-certified LED bulb can save more than $40 in electricity costs over its lifetime compared with a comparable non-certified bulb (EPA/Energy Star, “ENERGY STAR Lighting Brochure,” corroborated by DOE, “Purchasing Energy-Efficient Light Bulbs”). That’s a lifetime total, not a monthly bill, and it’s not a number tossed around loosely: it holds up because it’s comparing two bulbs doing the same job, not an LED against an old incandescent that was already wasting most of its energy as heat.
Multiply that across a house. Swap the dozen or so bulbs you actually run every day, not the ones in a closet you flip on twice a year, and that $40-per-bulb figure adds up to real money over the years those bulbs stay installed.
Part of why the math works is how long these things last. LED bulbs are commonly rated for 15,000 to 25,000 hours or more, often cited as up to 25 times the life of a comparable incandescent bulb (DOE, “LED Lighting”). I have LEDs in this house that were the first ones I installed, still running, while the incandescent bulbs around them burned out every year or two like clockwork.
The Numbers
What an Energy Star LED Actually Buys You
$40+ per bulb
Lifetime electricity savings for a certified bulb versus a comparable non-certified one (EPA/Energy Star, DOE).
15,000-25,000 hours
Common LED lifespan rating, often cited at up to 25 times a comparable incandescent (DOE).
Where Else LED Makes Sense
Swapping bulbs in existing fixtures is the obvious move, but it isn’t the only place LED has changed what’s worth doing around a house.
Outdoor and landscape lighting is one of the easier upgrades I’ve made. Most low-voltage outdoor systems run on 12 volts, and current LED retrofit lines drop directly into those existing low-voltage runs, wet-rated for exposure to weather. I didn’t have to rewire anything, just swap the fixtures at the path and the bulbs at the porch.
Seasonal and string lighting has changed more than almost any other category. The plug-in string lights I grew up with are mostly gone from what’s sold now. Current smart string lights are app-controlled, individually addressable so you can set patterns bulb by bulb instead of the whole strand at once, and increasingly run on Wi-Fi or Matter so they talk to the rest of a smart home setup. I put a set of these up for Halloween last year and left the same strand up through the holidays after, just changing the app’s color pattern instead of buying a second set of lights for each occasion. Halloween is one use for these, not the reason they exist; they work the same way for a porch year-round or a patio you use most weekends.
A straightforward bulb or fixture swap is a DIY job, no electrician required. LED now covers outdoor low-voltage fixtures, landscape lighting, and app-controlled string lights, not just screw-in bulbs.
Common Questions About Switching to LED
Is switching to LED lighting actually worth it? For the fixtures you turn on regularly, yes. You’ll pay more per bulb up front, but a certified bulb earns that back and then some over its lifetime, and it will likely outlast the fixture it’s screwed into.
Do I need a special light switch or dimmer for LED bulbs? Only if you’re dimming. A plain on/off fixture doesn’t care what kind of bulb is in it. Once a dimmer’s involved, check both ends: the bulb box needs to say dimmable, and the dimmer itself needs to be built for LED loads, not just inherited from the incandescent era.
Can I just replace my regular light bulbs with LED? In nearly every standard screw-in socket, yes, no rewiring involved. Match the lumen number to roughly what your old bulb put out and confirm the base size fits. The exceptions worth double-checking before you buy are enclosed fixtures and some recessed cans, where heat handling can be different than an open socket.
What’s the main downside of switching to LED? Cost per bulb up front, and getting a dimmer mismatched to the bulb, which is the complaint I hear most from people who’ve made the switch. Both are one-time problems you solve once, not something you deal with month after month.
How much can I actually save by switching to LED? A single Energy Star-certified bulb can save more than $40 in electricity over its lifetime versus a non-certified bulb. Run that across the handful of fixtures you rely on every day, and it adds up to a real number, not a rounding error.
That’s the whole label, room by room, top to bottom. If you’re staring down a specific room next, the bathroom and the nursery are the two spots where getting it right matters most, and both get the full fixture-by-fixture treatment elsewhere on this site.