
A home theater system comes together in seven steps because each step depends on the one before it being locked in: plan the room, place the display, place the speakers, run the wire and HDMI connections, connect the receiver and sources, calibrate the audio, then calibrate the picture last. Skip that order and you end up redoing work. I know because I did.
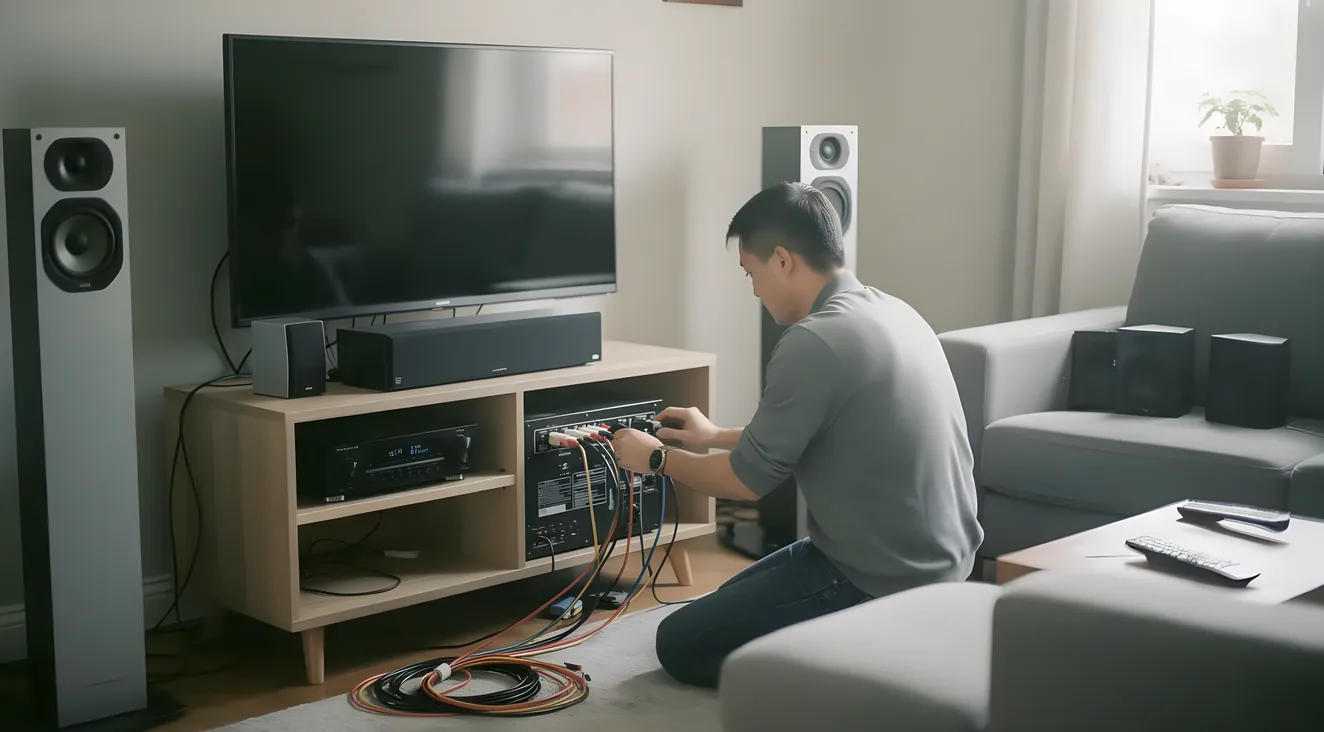
I built my first setup backward: wired everything first, then calibrated whenever I got around to it. My subwoofer crossover was wrong for three months because I ran auto-calibration before I’d finished moving furniture.
Here’s why the order matters more than which parts you bought. Auto-calibration measures your room exactly as it sits the moment you run it. Move a speaker, shift a rug, push the couch back six inches after that, and the correction it calculated no longer matches reality. At that point you’re not fine-tuning a system, you’re guessing with extra steps.
This post assumes you’ve already got your gear, or you’re close. If you’re still figuring out what a home theater system actually needs, start there. Everything below is what to do once the boxes are sitting in the room.
The single step most people skip: reviewing what the auto-calibration decided and checking it by hand with a test tone. That’s the real difference between a system that measured fine and one that sounds fine. You can do almost all of this yourself. The one place I’d hand off to a professional is full ISF-grade picture calibration, since it accounts for room lighting a test disc and your eyeballs can’t fully replicate.
Plan the Room Before You Touch a Cable
Before you place anything, pick where you’re going to sit. That’s your Main Listening Position, or MLP, the point every other measurement in this post gets taken from: screen size, speaker angles, subwoofer placement.
I made the mistake of hanging my TV first and figuring out seating afterward. Wrong order. The couch position should drive where the screen goes, because speaker geometry is measured relative to your ears in that seat, not whichever wall looked convenient.
If you haven’t settled on which display, speakers, or receiver you’re buying, that’s covered in what a home theater system actually needs. This post picks up once you own the gear, starting with your seat.
Place the Display First
Once your seat is set, place the screen next, before a single speaker goes up. Everything else in the room now gets measured from two fixed points: your ears at the MLP, and the screen in front of you.
Viewing distance, how far your seat sits from the screen, determines usable screen size and also sets the angle your front left, right, and center speakers need to sit at. The center channel especially needs to land on-axis with the screen, which means the screen has to be locked in before you can place it correctly.
I’m not getting into projector versus TV tradeoffs here, that’s choosing a projector territory. What matters here is the screen’s physical position, since that’s what the next section’s speaker placement depends on.
Place Your Speakers to a Real Standard, Not a Guess
This is the section where “eyeball it” gets you a worse system than your gear deserves. There’s an actual standard for surround sound speaker placement, ITU-R BS.775, backed by Dolby’s own installation guidance, worth following instead of guessing at angles.
Common Mistake
Myth
Front left and right speakers belong at 45 degrees off center.
Fact
Dolby's own installation guidelines and the ITU-R BS.775 standard put that angle at 22.5 to 30 degrees. The 45-degree figure floating around some roundups doesn't match either source.
Front left and right speakers go 22.5 to 30 degrees off center from your MLP, equidistant from your seat. That’s the number in Dolby’s own installation guidance, not the 45-degree figure you’ll see floated in some AI-generated roundups, which doesn’t match what Dolby actually publishes.
Your center channel sits on-axis with the screen, tweeter as close to seated ear height as possible, since it carries the most dialogue.
Surround speakers go 100 to 120 degrees off center per ITU-R BS.775 guidance, mounted one to two feet above seated ear height. In a 7.1 layout, the rear surrounds sit further back, closer to directly behind the seat than to the sides.
If you’re adding height channels for a 5.1.2 or 7.1.4 setup, Dolby’s guidance puts them at roughly two to three times the height of your ear-level speakers, equidistant from your seat. The “.2” or “.4” just tells you how many height channels you’re running.
One line on the subwoofer: placing it against a wall or in a corner increases output but can also cause boom. I’m not walking through the full placement process here, that’s where to place your subwoofer territory.
Haven’t picked your speakers yet? That’s covered in choosing your speakers.
Speaker Angles at a Glance
Front L/R
22.5 to 30 degrees off center, equidistant from your seat
Center
On-axis with the screen, tweeter near ear height
Surrounds
100 to 120 degrees off center, 1 to 2 feet above ear height
Height (.2/.4)
Roughly 2 to 3 times the height of your ear-level speakers
Run the Wire and HDMI Connections
Wire gauge is a distance-and-power problem in home theater wiring, not a brand decision. This is AV-retail consensus, not a single standards body’s hard spec, but it holds up:
| Run length | Wire gauge |
|---|---|
| Under 25 feet | 16 AWG |
| 25 to 50 feet | 14 AWG |
| 50+ feet, or any subwoofer run | 12 AWG or thicker |
Lower AWG numbers mean thicker wire, which matters because thin wire over a long run adds resistance that steals power.
Label every run by its endpoint, front left, surround right, whatever it is, before you run the next one. I skipped this once and spent an afternoon in a crawlspace trying to figure out which unlabeled wire went where.
If you’re installing wire behind walls, fish it through with flexible fish tape instead of pushing stiff wire blind, use low-voltage wall brackets so each run has somewhere to terminate, and check local code on fire-rated cable for runs through shared air space like a duct or drop ceiling.
HDMI generation matters more than most people realize. HDMI 2.1 supports up to 48 Gbps of bandwidth, which is what you actually need for 4K at 120Hz, 8K at 60Hz, or full Dolby Atmos and DTS:X passthrough. An HDMI 2.1 port doesn’t help if the cable running to it isn’t rated “Ultra High Speed,” since an older cable will bottleneck a newer port.
Connect the Receiver and Your Sources in the Right Order
Your AV receiver is the hub everything else plugs into, so connect it in a specific order rather than wiring in whatever’s closest first.
Run the receiver’s main HDMI output to your TV first, then work through the receiver’s onscreen setup wizard before connecting a single source device. The wizard sets up the receiver’s understanding of your speaker layout and display; connecting sources first just means redoing steps.
Once the wizard’s done, connect your sources, streaming box, game console, disc player, to the receiver’s inputs, and match each speaker cable to its correct output channel. A front-right speaker wired into the surround-right terminal will still play, just from the wrong direction.
For getting TV sound through the system: only the port on your TV and receiver labeled ARC or eARC carries audio back from the television. A regular HDMI input won’t do it. The port labeled eARC (a feature introduced with the HDMI 2.1 spec, though a handful of HDMI 2.0b devices support it too) is what you need for full lossless audio or Atmos and DTS:X to pass back from your TV’s built-in streaming apps to the receiver, rather than a device plugged directly into it.
Still deciding on a receiver? That’s choosing a receiver territory, not this post’s.
No Atmos or HDR Passthrough? Check These Four Things
- The cable is rated "Ultra High Speed," not just "High Speed." An older cable bottlenecks a newer port.
- You're using the port labeled ARC or eARC on both the TV and the receiver, not a standard HDMI input.
- eARC is switched on in the settings menu on both devices, not just one of them.
- An HDMI 2.1 port on the receiver doesn't fix any of the above by itself. Cable rating and port labeling both have to line up.
Calibrate the Audio (Auto-Correction, Then Manual Check)
Speaker calibration is the step people skip, and it’s the biggest gap between a system that’s wired correctly and one that actually sounds right.
Your receiver’s setup microphone sends test tones through each speaker, then analyzes how those tones come back, in both frequency response and timing, to generate per-speaker EQ, level, and distance settings. That’s what auto-calibration is actually doing: measurement, not magic.
Depending on your receiver, you’ll run one of three real systems: Audyssey MultEQ or XT32, Yamaha’s YPAO or R.S.C., or Dirac Live. They weight room correction and time alignment slightly differently, but none is categorically better across every room, and which one you have depends on your receiver.
Here’s the step almost nobody takes: after auto-calibration finishes, go back and manually review the speaker distances and crossover points it landed on. Furniture and reflective surfaces routinely fool the measurement microphone if anything moved after you placed your speakers. My front-right speaker once measured four feet farther away than it actually was because a chair was bouncing the test tone back late. It sounded a little off until I checked the distance against a tape measure.
After that, run a manual SPL check: use the receiver’s internal test tone with an SPL meter or a phone meter app, set to C-weighted and slow response, and true up channel-to-channel loudness against what the meter shows rather than trusting your ear alone.
Set your crossover frequency so bass below 80 Hz routes to the subwoofer, with your main speakers set to “small.” This is near-universal calibration practice, sometimes described loosely as THX reference-level philosophy, though exact target figures vary by source, so treat it as a target range, not a certification checklist.
Calibrate the Picture
Start with an accurate picture mode, Cinema, Movie, or an ISF-style preset if your TV has one, set the color temperature to Warm, and turn off the motion smoothing and other “enhancement” processing your TV ships with turned on by default. Those settings are tuned to look good under fluorescent store lighting, not in your living room.
From there, walk through settings in this order: brightness first (near-black detail should just barely be visible, not crushed to solid black), then contrast (bright whites shouldn’t clip to a flat, detail-less white), then color and tint, then sharpness, usually near zero rather than cranked up.
Brightness, contrast, color, tint, and sharpness set this way get a TV most of the way to an accurate picture with no paid equipment. Full ISF calibration goes further, accounting for your room’s ambient light and panel’s actual color gamut using instruments a homeowner doesn’t own. That’s the one paid step in this whole process, not a DIY one, and it’s an honest scope boundary, not a sales pitch.
What to Check When It Doesn’t Work the First Time
- No sound from one channel: before you assume a dead speaker, check wire polarity with a multimeter rather than trusting the color coding alone. Reversed polarity doesn’t just make a speaker quieter, it causes phase cancellation, showing up as thin bass and a collapsed, flat image instead of a clear stereo picture.
- No Atmos or HDR passthrough despite “compatible” gear on both ends: this is almost always an HDMI issue, not a real compatibility gap. Check the input, confirm the cable is actually rated for the bandwidth you need, and confirm eARC is switched on for both the TV and the receiver, not just one.
- Subwoofer not engaging, or sounding boomy and one-note: usually placement or crossover, not a defective unit. If you skipped the actual placement process, the subwoofer crawl method will get you further than turning the gain knob and hoping.
Frequently Asked Questions
How do I hook up a 5.1 home theater system?
Get the five speakers into the standard geometry first (front left and right at 22.5 to 30 degrees, center on-axis, surrounds at 100 to 120 degrees), then run wire to the receiver and land each cable on its matching channel at the back panel. Once everything’s connected, run auto-calibration before you sit down to listen.
How do I get TV sound through my home theater system?
Use whichever HDMI port is labeled ARC or eARC on both your TV and receiver, never a standard HDMI input. If you want lossless audio or full Atmos and DTS:X to come from apps running on the TV itself, you need the eARC feature specifically, which came in with the HDMI 2.1 spec, though a handful of HDMI 2.0b devices support it too.
What do you need to set up a home theater system?
A display, speakers matched to a channel configuration like 5.1 or 7.1, an AV receiver, enough speaker wire and HDMI cable to cover your runs, and a decided seating position. Which specific display, speakers, or receiver to buy is answered in the other guides on this site; this one covers what to do once you own the gear.
How many channels do I need for a home theater system?
Five speakers and a subwoofer (5.1) cover most rooms well. Seven speakers (7.1) add two rear surrounds for larger rooms. A “.2” or “.4” adds height channels for Atmos or DTS:X. More channels only help if every one is placed correctly, a well-placed 5.1.2 setup will outperform a poorly placed 7.1.4.
How much does it cost to set up a home theater system?
The cost is driven almost entirely by which display, speakers, and receiver you choose, not the setup process. Wire, connectors, and a basic SPL meter are a small fraction of the total. The real cost ranges live in the guides on choosing a projector, speakers, and receiver.
Is it worth calibrating my system if it already sounds fine?
Yes. Auto-calibration and a manual SPL check catch things your ear quietly adjusts to without noticing, an uneven channel, a subwoofer crossover set too high, a distance measurement thrown off by a piece of furniture. It takes fifteen to twenty minutes and it’s the single most skipped step in a DIY build.
The System Is Only as Good as the Order You Built It In
Every step above depends on the one before it being finished, not almost finished. Calibrate before your speakers are in final position and the correction measures a room you’re about to change. Wire before you’ve planned your runs and you’re pulling cable twice. Skipping ahead is the most common reason a good system still ends up sounding, or looking, a little off.
If you’re at the start of this rather than the middle, what a home theater system actually needs is the place to begin. If you’re further along and still need to pick a receiver, speakers, or a projector, the guides linked throughout this post cover that ground, and there’s more project-by-project DIY writing at homerous.com.
Sources for the specs above: Dolby’s Atmos Home Theater Installation Guidelines, the ITU-R BS.775 recommendation on multichannel speaker placement, and the HDMI Forum’s HDMI 2.1 specification for bandwidth and eARC.