
I used to blame the cleaner. Streaks down the glass, a hazy film across my living room windows no matter how much elbow grease I put into it, and it took me an embarrassing number of Saturdays to figure out that more elbow grease was never going to fix it. The real problem was a dirty squeegee blade, and cleaning in direct sun.
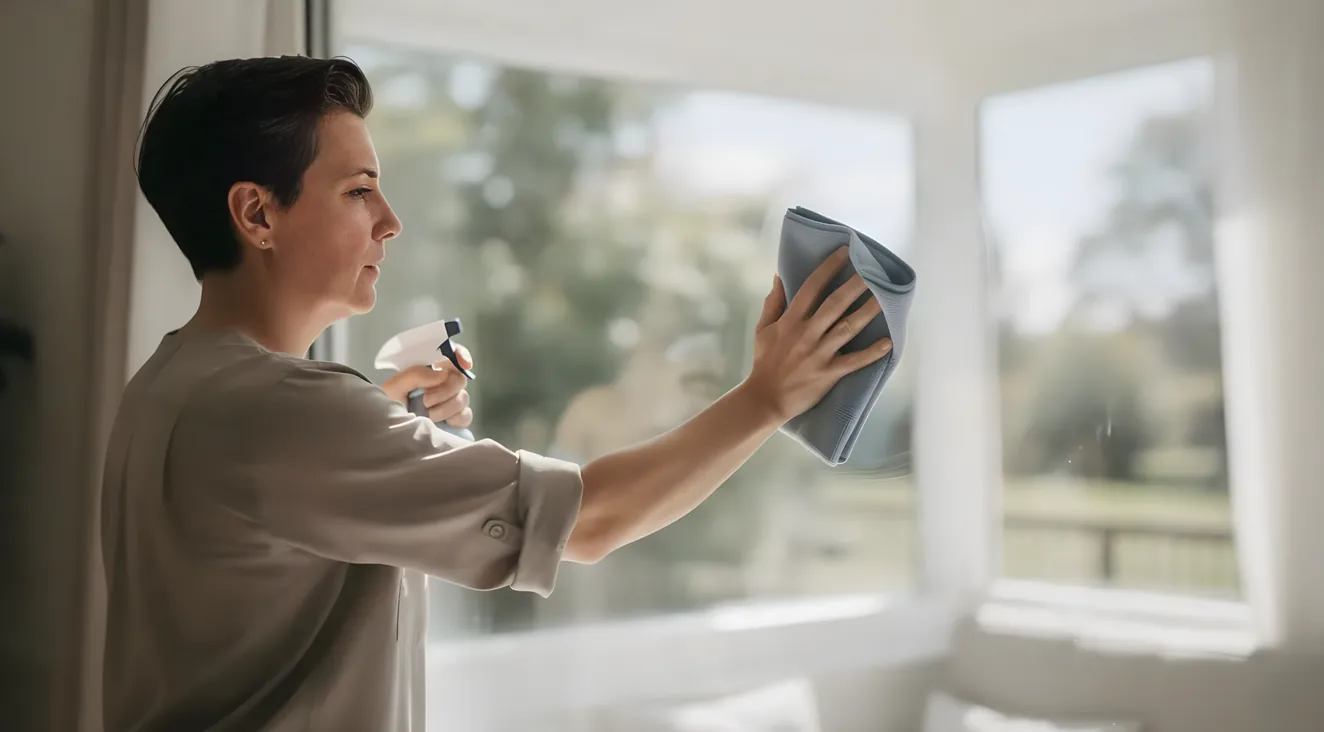
Streak-free windows come down to three things happening at the same time: a clean squeegee blade wiped dry after every pass, the right cleaning solution for the glass you actually have, and a cool surface to work on. Get those three right and the rest of this guide is just detail.
The Squeegee Technique That Actually Prevents Streaks
A squeegee doesn’t clean your window. It removes the water you just put on it, which is the whole trick. Everything about the technique exists to get that water off the glass in one clean motion instead of dragging it around.
The mechanics break into four steps:
- Hold the blade at roughly a 45-degree angle against the glass, with light, steady pressure. You’re not scraping, you’re gliding.
- Work in an S-pattern or a fanning stroke starting at one corner, overlapping each pass by an inch or two so you never leave a dry strip standing next to a wet one.
- Wipe the blade dry with a lint-free cloth after every single pass, not every few passes, every one. This one habit fixes about ninety percent of the streaking problems I see in my own house.
- Wipe down the frame and sill first so loose dust doesn’t fall into your wet stroke, then apply the cleaning solution evenly across the pane rather than soaking it.
A wet or dirty blade doesn’t remove water, it redistributes it, smearing whatever grit or old soap film it’s carrying back onto glass you just cleaned. A window doesn’t need to be dripping to get clean, and oversaturating it just means more runoff dribbling down onto the sill and trim below.
Squeegee vs. Microfiber vs. the Newspaper Myth
Different tools do different jobs, not one tool that does everything: a squeegee excels at large, flat exterior panes because it actually removes the water instead of absorbing and redistributing it; microfiber lags there but leads on interior glass, mirrors, and the edges and corners a squeegee blade can’t reach cleanly. That includes casement windows, which hinge open rather than sliding, and clean better with a cloth worked into the frame than a squeegee stroke built for a flat, fixed pane.
Paper towels are worth actively avoiding. They shed lint, and that lint reads as a hazy streak once the glass dries, which is exactly the problem you’re trying to solve.
Newspaper is the trickier myth, because it wasn’t always a myth. Old-fashioned newsprint used petroleum-based ink on a paper stock with less coating, or sizing, than what’s printed today, and that combination happened to soak up moisture without smearing. Modern newspapers use water-based ink on differently formulated paper, which doesn’t behave the same way on glass, and wet newsprint ink can transfer onto painted frames and trim if it sits there. It made sense fifty years ago. It doesn’t reliably work with what actually comes off your driveway today. Microfiber is the better default now, full stop.
DIY Window Cleaning Solutions (With Ratios)
You don’t need a specialty product for most windows in your house. A vinegar-and-water mix handles the job, and the right strength depends on how dirty the glass is.
For a spray-bottle batch: a quarter cup of white vinegar, half a teaspoon of dish soap, and two cups of water. For a bucket batch covering the whole house: four cups of water, half a cup of white vinegar, and a teaspoon of dish soap. Same routine-strength mix, just scaled to the amount of glass.
Adjust strength separately, starting from that base recipe. Manufacturers’ published ratios put light maintenance closer to 1:10 vinegar-to-water, and heavier grime closer to 1:1. There isn’t one “correct” ratio, just a range depending on how much buildup you’re fighting.
Ammonia is the other option, and Iowa State University Extension and Outreach publishes real ratios worth using over a guess: a light recipe of two tablespoons of ammonia in two quarts of warm water, and a heavy-duty recipe of half a cup of ammonia plus a pint of 70 percent rubbing alcohol and a teaspoon of dish detergent, topped up to a gallon with water. One hard rule either way: never mix ammonia and vinegar solutions together. The combination produces fumes that will irritate your eyes and throat fast.
That ammonia option comes with a real caveat, and it’s the one thing I’d want a neighbor to know before they mix a batch. If your windows carry a window tint film, an adhesive layer applied after the glass went in, or a Low-E coating, a different treatment baked into the glass at the factory, skip the ammonia mix entirely. It’s the same chemical installers use to strip tint film off on purpose, damaging the film itself and degrading the adhesive holding it down. It’s just as hard on a Low-E coating, even without an adhesive layer to strip, so treat both the same way. Vinegar is the safer, ammonia-free, all-purpose choice specifically because it doesn’t carry that risk.
| Solution | Ratio | Best for |
|---|---|---|
| Vinegar spray bottle | 1/4 cup vinegar, 1/2 tsp dish soap, 2 cups water | Quick touch-ups, a window or two |
| Vinegar whole-house bucket | 4 cups water, 1/2 cup vinegar, 1 tsp dish soap | Same strength, scaled up for a full exterior pass |
| Light ammonia | 2 tbsp ammonia, 2 quarts warm water | Plain glass, no tint film |
| Heavy ammonia | 1/2 cup ammonia, 1 pint 70% rubbing alcohol, 1 tsp dish detergent, water to 1 gallon | Heavy grime, no tint film |
One more practical note: how much solution you mix scales with how much glass you’re covering. A house with several large panes or picture windows burns through a bucket faster than one with smaller openings, so if you’re not sure what you’re working with, standard window sizes is worth a look before you guess at quantity.
Skip These on Your Windows
Ammonia on tint or Low-E glass
Same chemical installers use to strip tint film on purpose. Just as hard on a Low-E coating.
Ammonia mixed with vinegar
Never combine the two solutions. The fumes irritate eyes and throat fast.
Paper towels
They shed lint, and that lint reads as haze once the glass dries.
Pressure washer on hard water spots
The force can drive minerals deeper into the glass instead of clearing them.
Getting Rid of Hard Water Stains and Mineral Deposits
This is the part almost nobody covers: a window can look “clean” and still have cloudy white spots that a squeegee and soap just glide right over. Hard water stains aren’t dirt. They’re mineral deposits, mostly calcium and lime, left behind when water evaporates off the glass before anyone wipes it away. Sprinkler overspray, hose runoff, and regional hard water all cause it, and left alone long enough, those minerals bond to the glass and can actually etch the surface.
A squeegee and dish soap won’t touch this. What works is a 50/50 spray of white vinegar and water left to sit for five to ten minutes, warmed slightly for stubborn spots. For heavier buildup, step the ratio up to two parts vinegar to one part water. If vinegar alone isn’t lifting a spot, a baking-soda paste gives you a mild abrasive that won’t scratch the glass the way a scouring pad would. For deposits that outlast both of those, a commercial lime remover like CLR or Lime-A-Way is the reasonable next step up.
One counterintuitive warning: don’t reach for a pressure washer on hard-water spots. It feels like the obvious fix, but the force can drive minerals deeper into the glass, making the etching worse rather than better. Patience with vinegar beats brute force here.
Cleaning Screens, Tracks, and Frames
Do this part before you touch the glass. Debris from a dirty track or screen re-lands on a pane you just cleaned, and you’ll end up redoing work you already finished.
- Screens: remove them and clean outside on a sunny day. Vacuum both sides with a brush attachment to knock off loose dust, then wash with warm water and dish detergent, or a 1:3 vinegar-to-water mix, using a soft-bristle brush. Rinse and let them dry flat before putting them back in.
- Tracks: the part that collects the most grime in the whole job. Vacuum first with a crevice tool, then apply a 50/50 mix of white vinegar and warm water with a few drops of dish soap, working it in with an old toothbrush. Let it sit about fifteen minutes, then wipe with a damp microfiber cloth and let it air dry before closing the window back up.
- Frames: mild soapy water and a soft cloth or sponge, worked into corners and crevices where dust tends to build up. Wood frames specifically deserve a lighter hand here. Don’t oversaturate them, since standing moisture is what leads to swelling and, eventually, rot.
Screens, tracks, and frames don’t need attention every time you touch the glass. Doing them at least twice a year, on the same seasonal schedule as your full exterior clean, keeps them from becoming their own separate project.
The Best Time and Weather to Clean Windows
This isn’t an old wives’ tale. Direct sun heats the glass, and hot glass dries your cleaning solution almost instantly, before you’ve had a chance to wipe it off. What’s left behind is dried residue and streaks, no matter how good your technique is otherwise.
Early morning, late afternoon, or an overcast day are your best conditions, since the glass stays cooler and the solution has time to do its job before evaporating. Spring and fall tend to be the best seasonal windows for a full exterior clean too, since you’re avoiding both summer’s fast evaporation and the difficulty of working in freezing conditions.
If sunny-day cleaning is your only option, work in small sections instead of spraying the whole pane, wiping each one immediately before moving to the next so the sun never gets enough time to dry anything you haven’t already squeegeed off.
Cleaning Second-Story Windows Safely
The safer default, where your hardware allows it, is cleaning from inside. Many double-hung windows are built with tilt-latches that let the sash rotate inward, which means you can clean the exterior-facing glass without ever leaving your living room. To use it, unlock the window, raise the bottom sash about six inches, engage the tilt-latches on either side, and support the sash as it rotates in toward you. Clean the now-accessible exterior glass from the inside, then rotate it back and relock it.
Before You Climb
OSHA reports ladder falls account for roughly 20 percent of fatal and lost-work-day injuries across general industry. It's a broad statistic, not one specific to window cleaning, but the caution behind it applies to a Saturday afternoon job as much as a work site.
The single most common mistake: leaning out to extend your reach instead of moving the ladder. Keep your belt buckle between the side rails at all times.
If your windows don’t have that hardware, or you’re dealing with a fixed pane, a ladder is the fallback, and it deserves real caution, not a quick clause:
- Never climb on a windy, rainy, or extremely hot day.
- Set the ladder on firm, level ground only, never on cinder blocks, boxes, or anything improvised to gain height.
- Confirm the locks are engaged before you put weight on it.
- Keep your belt buckle between the side rails at all times rather than leaning out to extend your reach.
- Wear non-slip shoes, have a second person spot the base, and stay aware of any overhead power lines near where you’re setting up.
Some windows double as egress exits, typically in bedrooms or basements. It’s worth knowing which ones before you start moving furniture or a ladder around them, since those openings need to stay clear and functional in an emergency regardless of how you clean them.
Professionals follow the ANSI/IWCA I-14.1 Window Cleaning Safety Standard, the industry benchmark, not something a homeowner needs to comply with, though the caution behind it applies just as much to you on a Saturday afternoon as it does to a crew on a job site.
How Often You Actually Need to Clean Windows
A thorough exterior clean twice a year, spring and fall, is the baseline that keeps most homes ahead of dirt and buildup, paired with a lighter interior wipe-down about once a month.
Adjust that baseline for how your house gets used. Homes with kids or pets tend to need lighter interior cleaning every one to two weeks, since handprints and nose smudges accumulate faster than dust does. If you’re in a high-pollution or high-traffic urban area, a monthly exterior clean holds up better than waiting for the seasonal pass. And if your house sits on a dirt road, plan on cleaning every three months or more, since that kind of dust load outpaces the twice-a-year schedule fast.
Streak-Proofing at a Glance
Dry blade, every pass
Wipe the squeegee after each stroke, not every few. Fixes most streaking on its own.
Match the solution to the glass
Vinegar for tinted or Low-E glass, ammonia only for plain glass with no film.
Cool glass, not direct sun
Early morning, late afternoon, or overcast. Hot glass dries the solution before you can wipe it.
Tracks and screens first
Clear debris before touching the glass so it doesn't land back on a pane you just finished.
Common Window Cleaning Questions
What is the best thing to clean windows with?
A squeegee for the large panes and a microfiber cloth for detail work, used together rather than one or the other. The cloth loosens dirt and handles edges, and the squeegee is what actually pulls the water off the glass instead of just moving it around.
Is Windex or vinegar better for windows?
Both clean plain glass just fine. Vinegar is the safer all-purpose pick because most blue glass cleaners, Windex included, are ammonia-based, and ammonia damages tinted film and Low-E coated glass. If you’re not sure what’s on your windows, vinegar is the option that won’t cause a problem either way.
How do you make your windows crystal clear?
One habit does most of the work: dry the blade with a lint-free cloth between every pass. Skip that step even once and the blade just smears leftover grit and soap back across glass you already cleaned, which is where nearly all the haze comes from.
What should you avoid using to clean windows?
Three things trip people up most. Lint from paper towels dries into a haze you didn’t have before. A pressure washer aimed at hard-water spots pushes minerals deeper into the glass rather than lifting them out. And ammonia products on tinted or Low-E glass attack the film or coating itself, tint or no tint.
Why do my windows still streak after I clean them?
Three culprits cover almost every case: a blade that wasn’t wiped dry, too heavy a hand with the soap, or the sun beating you to the glass before you could squeegee it off. Get those three under control and you’re done chasing streaks for good.